Introduction
This manual describes how to install Adobe software and how to use the new Adobe license.
Before you get started
- This manual is for employees only.
- This manual uses a consistent style of writing: references to text and buttons on screens are printed in italics, information that you have to enter yourself is printed in bold.
- Installing the Adobe Creative Cloud application will remove all earlier Adobe software from your UT workstation. This process can take some time when there are many Adobe applications to remove.
step 1: INSTALLING ADOBE CREATIVE CLOUD APPLICATION
Adobe Creative Cloud Desktop can be installed through Software Center (UT workstations only).
Open the Software Center and click on the Adobe Creative Cloud Desktop application.
![]()
In the new window that opens, click on install*.
*This will remove all currently installed Adobe applications and install Adobe Creative Cloud Desktop. This might take some time, especially if there are many Adobe applications already installed.
step 2: STARTING THE ADOBE CREATIVE CLOUD MANAGER AND ACTIVATING THE LICENSE
When the installation is finished you can find the Adobe Creative Cloud application in the Windows Start menu to install and activate all Adobe applications you have access to:

Log in with your UT e-mail address and password and click Continue.

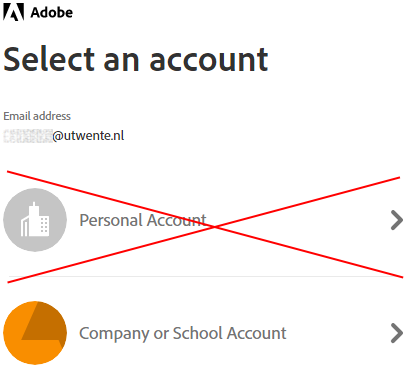
You might get the next window if your e-mail address is already registered as an Adobe ID. Please select Company or School account:

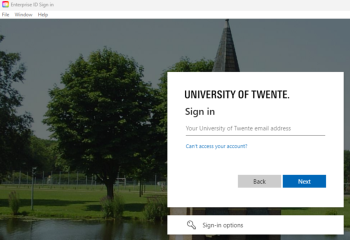
Enter your UT e-mail address and password to sign in:

Click Proceed to Adobe Creative Cloud in the SURFconext window.

You can now install the Adobe applications on your workstation. The license can only be used on two computers simultaneously per user.
