Short link for this page: utwente.nl/vpn.
Virtual Private Networking (VPN) is used to set up a virtual network connection across another physical network connection. In this case, that involves setting up a VPN connection to the University of Twente, so that you will acquire an IP address starting with 130.89, even if your Internet Service Provider is not the same as that of the University of Twente. With this VPN connection, you will get both an IPv4 and IPv6 UT address. All network traffic from your device will go through the network of the University of Twente.
Second case is setting up a secure internet VPN connection. You will get both an IPv4 and IPv6 address from SURFnet. All network traffic from your device will go through the network of the SURFnet.
MANUALS
BEFORE YOU START
- This manual uses a consistent style of writing: references to text and buttons on screens are printed in italics, information that you have to enter yourself is printed in bold.
- VPN for Windows (eduVPN)
STEP 1: DOWNLOAD THE EDUVPN CLIENT.
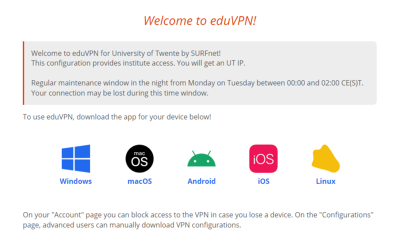
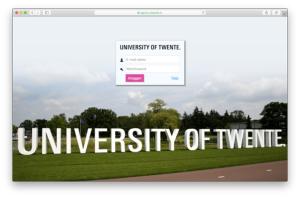
Go to https://ut.eduvpn.nl and log in with your UT account.
Click on Windows to download the eduvpn client.
STEP 2: INSTALL THE CLIENT
Open the installation file and install the software (a restart might be required to finish the installation).
STEP 3: START THE CLIENT
Search for eduvpn in the start menu and open it.STEP 4: INSTALL THE UT PROFILE
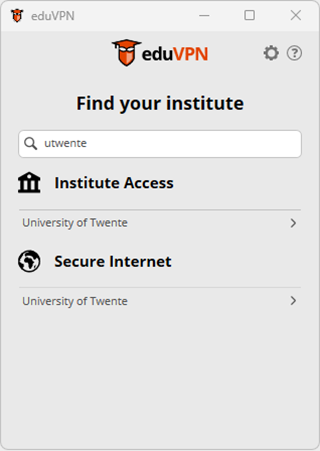
Search for University of Twente.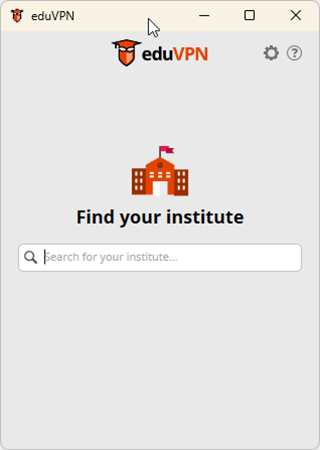
You will be guided to the login page of the University of Twente, or redirected directly to the page where the application can be approved.
Click on Approve application.
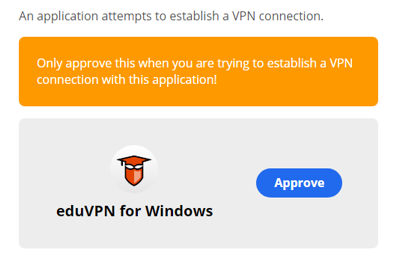
The profile for institute access is now added to the client.
STAP 5: CONNECT
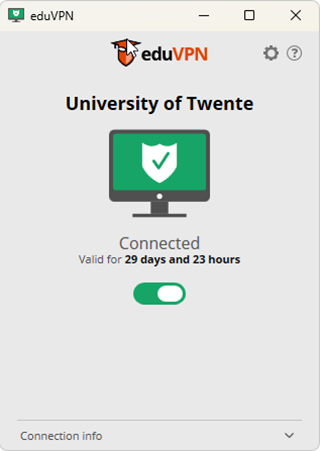
Select Institute Access and wait until the status icon is green. After a (re)start of the pc you only need to open the eduvpn client and select Institute Access to connect.
- VPN for MacOS UT managed (eduVPN)
Step 1
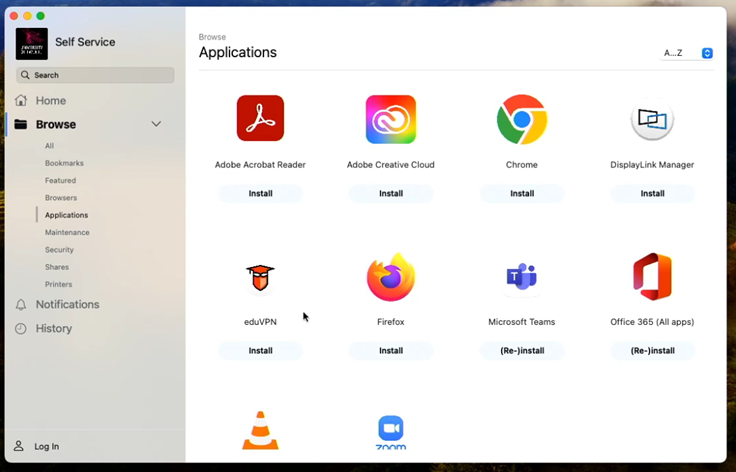
Open the Self Service application.

Search and select eduVPN and click Install.
Step 2
Start the EduVPN client accept the privacy statement.
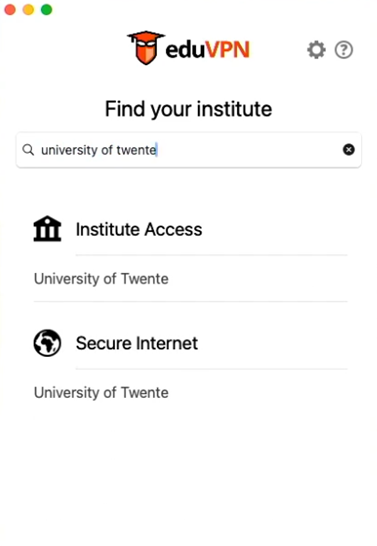
Search for University of Twente in the search bar and select University of Twente at Institute Access.
- Log on with your UT account and approve the VPN connection.
- Select the University of Twente profile to connect.
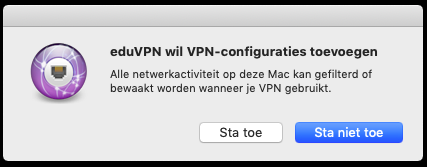
- Click Allow to accept the configuration change and select Notify in the next window.
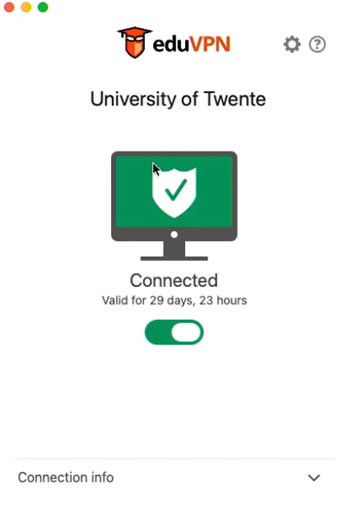
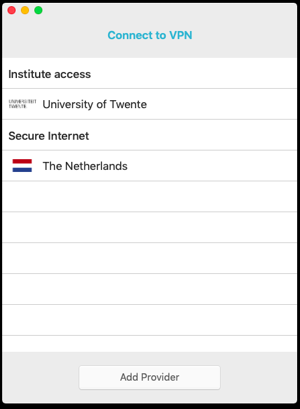
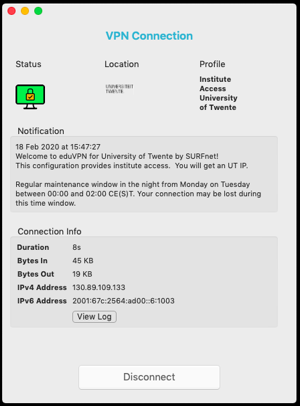
- If the connection is established the following screen will appear:
- VPN for MacOS (eduVPN)
STeP 1: DOWNLOAD AND INSTALL CLIENT
Go to https://ut.eduvpn.nl
Log on to the UT inlog on page with your UT email address.
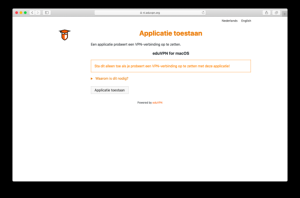
The following page will appear.
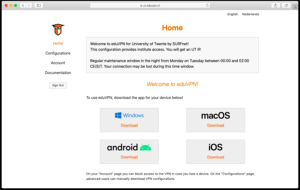
Click on macOS.
Search for eduVPN in the app store and install it.

STeP 2: INSTALL UT PROFILE
Start the EduVPN client.
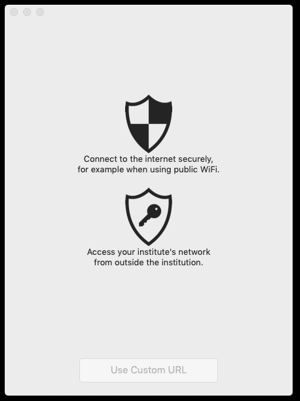
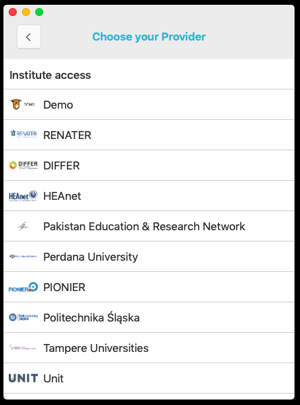
Click on Access your institute's network from outside the institution.
Choose University of Twente.
Click applicatie toestaan (allow application).
Select the University of Twente profile to connect.
Click Allow.
When the connection is established the following screen will appear:
- VPN for Android (eduVPN)
STEP 1: INSTALL APP
- Go the Play Store
- Search for eduVPN
- Install and open the app eduVPN
STEP 2: INSTALL PROFILES
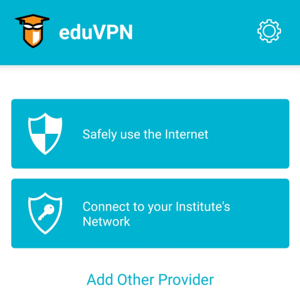
Click Connect to your Institute's Network.
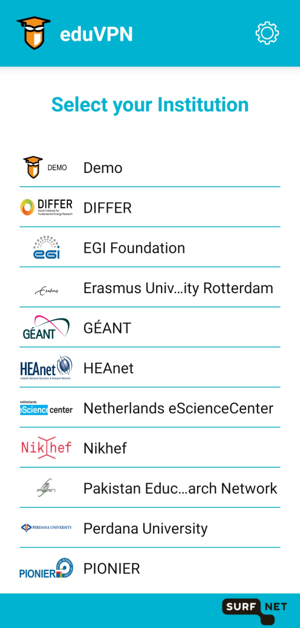
Select Universiteit of Twente.
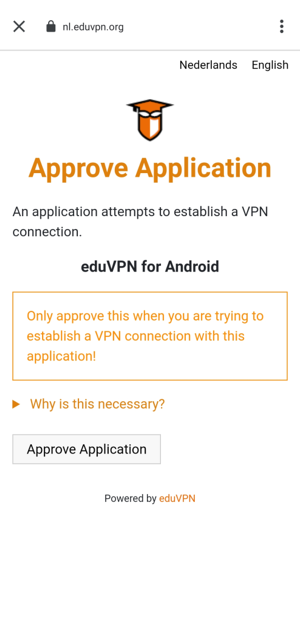
Choose Approve Application.
STEP 3: CONNECT
Select the University of Twente profile.
A message may appear: Connection request. Choose: OK.
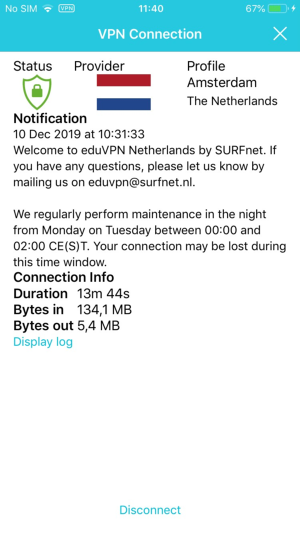
When the connection is established the following screen will appear:
- VPN for iOS (eduVPN)
STEP 1: DOWNLOAD
- Go to the App Store and search for eduVPN.
- Install the eduVPN app.

After the app is installed, continue the following steps of this manual.
STEP 2: INSTALL UT PROFILE
Start the app.
- A message may appear: eduVPN wants to send you messages
- Choose: allow
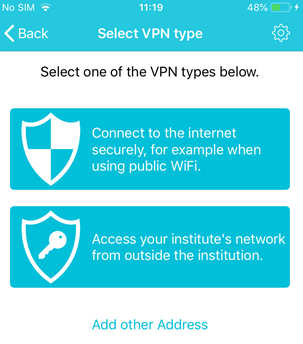
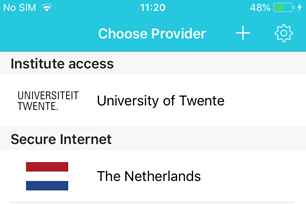
Press the bottom shield: Access your institute’s network.
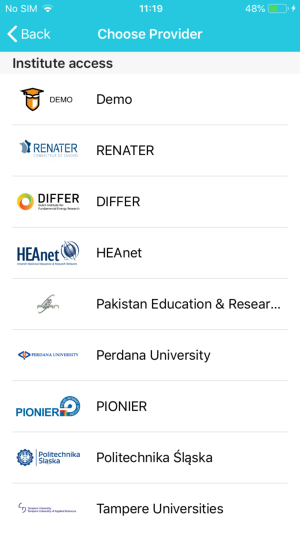
Select University of Twente.
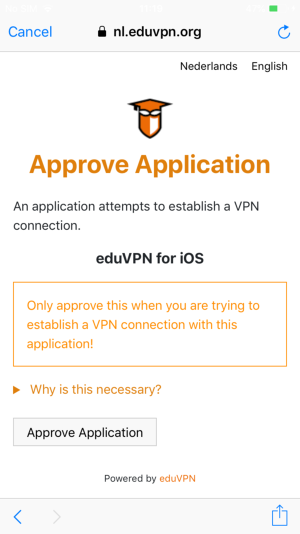
Approve application
The UT profile is added to the client.
STEP 3: CONNECTING
Select the University of Twente profile.
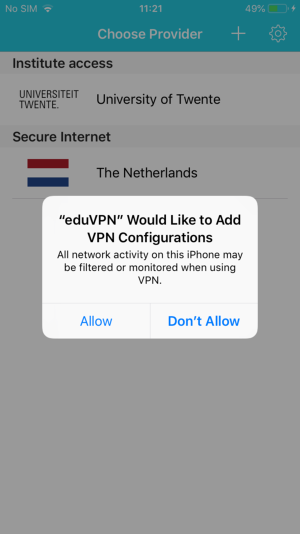
- A message may appear: eduVPN Would like to Add VPN Configurations
- Choose: Allow
Log in with the UT email address at the UT Login page.
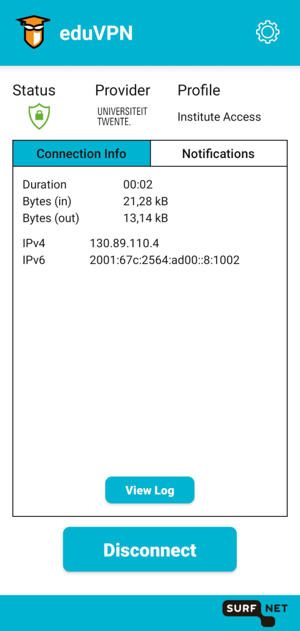
When the connection is established the following screen will appear: