Step 1: The theory exam
The Dutch theory exam is known for being challenging. It is a computer-based test that can be done at one of the 20 exam locations in the Netherlands, available in both Dutch and English (though slightly more expensive). You must complete and pass the theory exam before you can attempt the practice exam. The exam consists of 50 questions, presented in one continuous test, as opposed to the older 65-question exam, which was presented in three sections. To pass, you must answer at least 44 questions correctly within 30 minutes.
To study for the theory exam, you may take a special theory course at a driving school, but this is not mandatory. You can also study the theory yourself using theory books or online courses. Many people don’t pass on their first try, and that’s perfectly normal. It’s common to need two or even three attempts due to random question selection.
Pro tip: Learn the essential Dutch terms for driving. For example, “erf” means a residential area with a 15 km/h speed limit, “autosnelweg” indicates a high-speed road for motor vehicles with maximum speeds ranging from 100-130 km/h, depending on the time of day. Knowing these terms can make the difference between passing and failing.
Step 2: The practical exam
Though not legally required, it is strongly recommended to take driving lessons before attempting the practical exam. Most beginners take at least 40 to 45 lessons before attempting to pass the practical exam. Be aware that lessons are not cheap: for an hour of instruction, you’d usually pay around 45-60 euros, though this is also dependent on your driving school. In any case, be prepared to spend upwards of 2000 euros to get your driver’s license – most people, when first researching this, are not aware of the costs, and blanch when they see the prices.
To choose the right driving school, look for schools that assess your skills before signing you up for a test, maintain a high passing rate on the CBR website (Centraal Bureau voor de uitgifte van Rijvaardigheidsbewijzen), and offer lessons in English if needed.
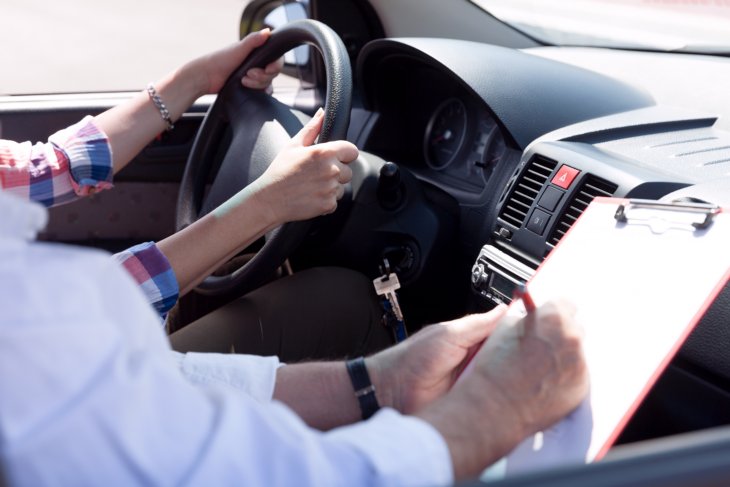
The actual practical exam is conducted at CBR practical exam centres, lasts approximately 55 minutes, and tests driving procedures unique to Dutch roads. For example, before you make a turn, look into the middle mirror, then the side mirror, then over your shoulder in the dead angle. They check if you’re doing this correctly in the exam; otherwise, you fail, even if your driving is good. The examiner is an official from CBR, and not your driving instructor from your driving school, though usually your instructor may sit in the back seat during your practical exam.
Important documents to take
You’ll need some documents on your person during the practical exam, including:
- A valid ID or passport
- Theory examination certificate
- VvG (Fitness Certificate), if applicable
- Official notification of the appointment
- Zelfreflectie (self-reflection) form for after your practical exam
If you experience anxiety, a faalangstexamen is available. This is a longer exam with an official examiner trained to help people with anxiety.
You’ll also be asked to perform a basic eye test (such as reading a car plate from about 25 metres away) and answer some questions about different car parts. After these small tests, the real driving exam begins, where you’ll be asked to go on a drive with the examiner, perform some special manoeuvres (like parallel parking or reversing around a corner), and then drive independently to a destination using a navigation system.
After your exam, you’ll use the self-reflection form, as you’ll discuss your results and whether or not you passed with your driving instructor. If you pass, you’ll receive a certificate of competence (Verklaring van rijvaardigheid) and a certificate of fitness (Verklaring van geschiktheid), which you’ll need to present to the municipality to receive your driving license. Usually, it takes around two weeks for you to receive your driver’s license.
Whether you’re just orienting on getting your driver’s license in the Netherlands, or about to start your lessons – now you have all the information you need to make a good start. Good luck with your driving lessons!


